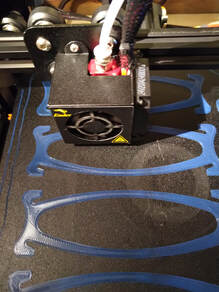
 What’s forming this week is some community volunteer work as our School prepares to head back into session. Earlier this spring, front line medical workers began having to wear masks for hours at a time. The result of this was that the backs of their ears began to break down and have sores because of ear loops rubbing on them for hours at a time. The solution that came to be was really quite simple, someone devised a simple piece of plastic that would stretch the loops a little further and thus keep them off of the wearer’s ears. What’s really remarkable is that the inventor of this ear saving device, did not apply for a patent, find the most economic factory they could and start selling them by the millions. Instead, they posted the design file on a prominent website, and made it available for anyone who wished to 3-D print as many as they desired. What’s more, other people worked to improve the design or submitted designs of their own. The result of all of this was that many people received relief for their ears as 3-D printing hobbyists went to work printing them up. Earlier this summer, I purchased my own 3-D printer, and one of the things I have printed is some ear relief items for my own family, but there was another need I perceived. Beginning in about three weeks, there is another population that we will be asking to wear masks for long hours, day after day: teachers and students. In response to this I have been printing up a few ear relief devices and donating them to our local school. Before beginning to print them in larger quantities, I am checking with the school to see if they are begin used and meeting an actual need. If so, I stand ready to offer my gifts to them. I will post an update for this project in the future.
0 Comments
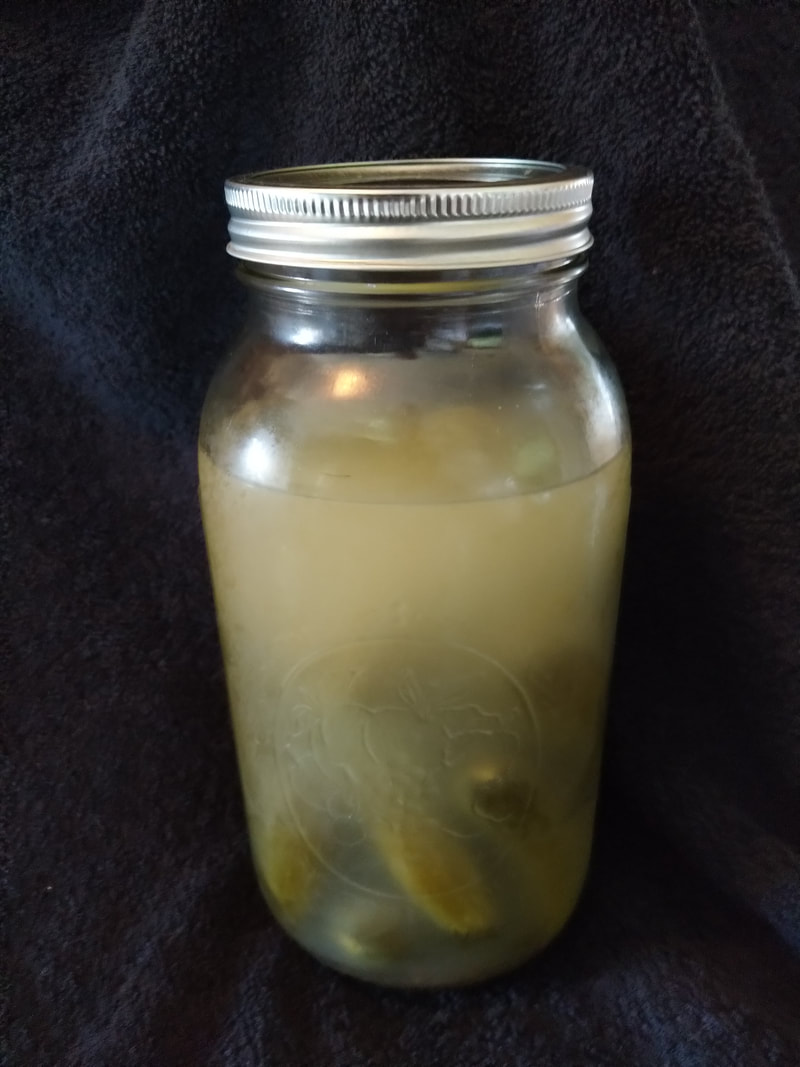
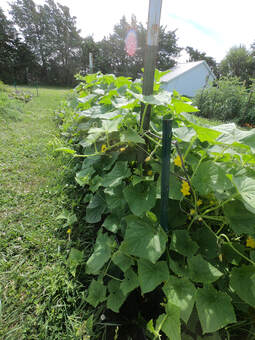 Over the last couple of weeks, the garden has gone from the, "Will this ever give anything?" stage to the, "What in the world am I going to do with all of this?" stage. It is a good place to be as it means the weeding is less, and the amount of fresh food on your plate increases as your grocery bill goes down, but now the work changes to harvesting, and preserving the harvest. Our cucumbers have been doing well this season. We planted "Pick-a-bushel," which produces a lot of pickle sized cucumbers which can be picked anywhere from gerkin sized to 6 inch barrel pickles. They have been good fresh, and we are working on preserving them through lacto-fermentation as true pickles. If you have not heard of lacto-fermentation, it is the process that is used for centuries to make sauerkraut and kimchi in the traditional way. In its simplest terms, salt is used to make an environment where certain good bacteria flourish in an environment devoid of Oxygen. These good bacteria out compete bacteria that would make you sick or cause food to rot. As the good bacteria eat sugars in the vegetables, they release lactic acid. This process, which takes about a week at 65-75 degrees F continues until the sugars are used up, or the environment becomes to acidic for the bacteria to continue. There are many who will try to sell you on the health benefits or the pre-refrigeration nostalgia of it all. What I like, though, is that it's super easy, and the flavor that comes off of the end product is not something that can be duplicated. There are crocks that are made especially for fermenting vegetables that cost a minimum of $150. If you get into it, they are really nice. To start off and see if this is for you, I would recommend a simple airlock and wide-mouth mason jar set up. A good set of 4 airlock and lids can be purchased for about $20, and mason jars can be purchased for less than $10. Glass weights can also be purchased for about $10. These make it really easy to hold things under the water, which is necessary for fermentation, but if you are on a budget, you could get away without them. With these supplies you are ready to ferment just about anything and there are many good books available to help you out. For Pickles, you will need the following: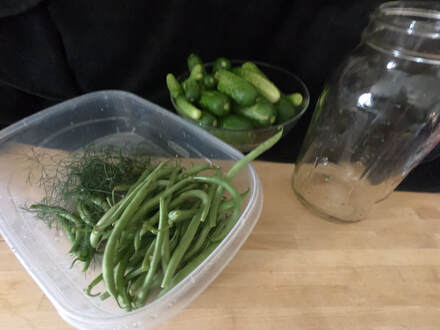 Cucumbers (green beans are a good addition if you have them too) Dill Dill Seed 2-3 Peppercorns 2-3 Cloves of Garlic Pinch of Red pepper flakes (Optional) Mason Jar- 1 or 2 qt. Air Lock Brine Mixed at the strength of 3/4 cup sea salt to one gallon of water. 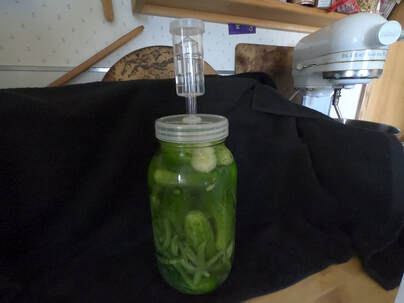 Make sure everything has been rinsed well with clean water, then put the Dill, Dill Seed, Pepercorns, Garlic, and Red Pepper Flakes in the bottom of your jar. Layer your jar with cucumbers and broken pieces of green beans using smaller cucumbers and beans to fill in the gaps. Fill the jar up to about 2 inches from the top with vegetables. Then fill it up with your prepared brine. Place some form of weight on the top to keep things under water and then put on your airlock. Find a cool (65-75F) dark place to keep your jar. After this, other than clean up, you are done! Wait a week and enjoy the results. During fermentation, you can expect the brine to get cloudy and the vegetables to start to look "cooked." Your end results will look something like the jar below. For More Information: "Cooked," by Michael Pollan has a great section that discussed what happens during fermentation and is what turned me on to trying this process.
"Fermented Vegetables," by Kristen K. Shockey and Christopher Shockey is my go to resource for recipes and brine ratios. It also contains an introductory section that goes into depth about the process of fermentation. 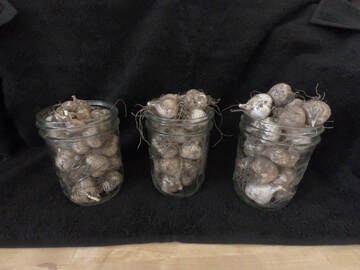 Sometimes it is easier to just start over, sometimes it is worth the time and effort to rehabilitate things. The garlic of our garden is one of those things that I’ve decided will be worth the effort to rehabilitate. Several years ago now, we moved to this area from Pennsylvania. We brought with us, like the travelers of old, some of our prized seed. For us it came in the form of the two varieties of garlic we grew which were on their 5th or 6th season. We had come to love one variety in particular simply for its ease of use. It kept well, was fairly easy to peel, and only a clove was needed for most recipes because the cloves came the size of two thumbs, one layer deep about 5-6 to a bulb. The only draw back being we had to reserve 20% of the crop for replanting. When we arrived in Nebraska, a bed was prepared early in the spring, the garlic was planted, and then tended to for a year. Then we realized that the full weight of keeping up with twins and school during the summer was going to mean not keeping up with a garden. So the garlic has grown for the last 6 years, and divided for the last sux years, and though it looked like a weed patch, I kept mowing around it and letting it grow for another year. This spring, as a major part of preparing The Forming Spirit, the garden was brought back into our life. Beds were prepared, and in a section of them, an experiment was tried. The garlic which had been growing and dividing, and growing and dividing was carefully dug up, separated into what I hoped were the two varieties we had brought, and then the best plants of each variety were chosen and planted in the garden, with room to put down roots, water to help them grow, and plenty of light all to themselves. I will report, they did not come roaring back to life like I hoped that they would and a few of them didn’t make it. Most of them did though, and upon harvest, they had produced small bulbs of garlic, with small cloves. I probably won’t be eating much of it this year, but what I have to plant for next year is larger and healthier than what I started with this season, which will, I hope, produce a crop that is larger and healthier again. This is the nature of rehabilitation, it takes time, several seasons perhaps, to undo the neglect something has gone through, to fix the brokenness that is present. It is, in many ways, the more difficult path to take. It is also the path though, of hope, and of relationship, and of love. |
AuthorPatrick Sipes is the founder and director of The Forming Spirit. You can learn more about him here. Archives
December 2020
Categories |
 RSS Feed
